Eureka! (Part II)
(If you haven't read it already, you might want to start with Part I. Or if you're really curious, there's also an entry on another, yuckier method for no-sew mitered squares.)
Square 3:
As square 2.

Square 4:
At this point, you have a choice.
You could knit square 4 as you did squares 2 and 3, and have a single seam to sew.
Or you can follow the directions below and go for the true no-sew block of squares. This last square is a little more difficult, though. In the last several rows, things get a bit tight. Whether the bother is worth it to you all comes down to how much you dislike the sewing.
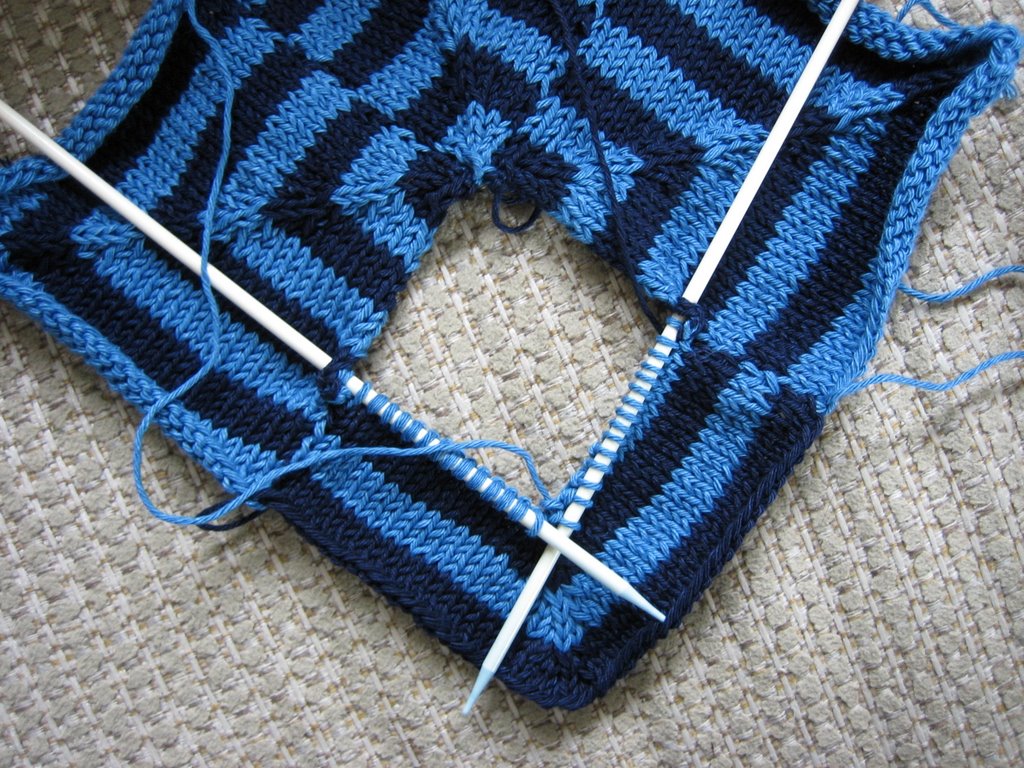
On the assumption you wish to continue:
Everything begins in the same way your previous joined squares did:
Cast on 49 stitches.
Join with square 3 by purling into the first edge stitch on square 3. Re-insert needle into square 3, as previously described. Turn.
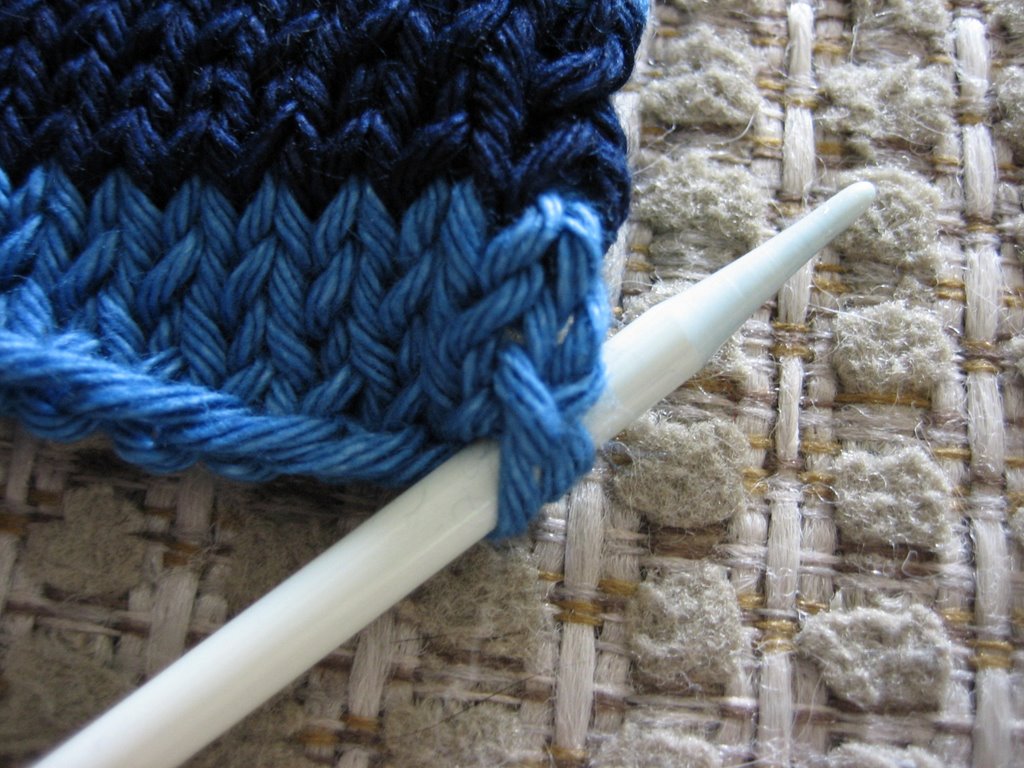
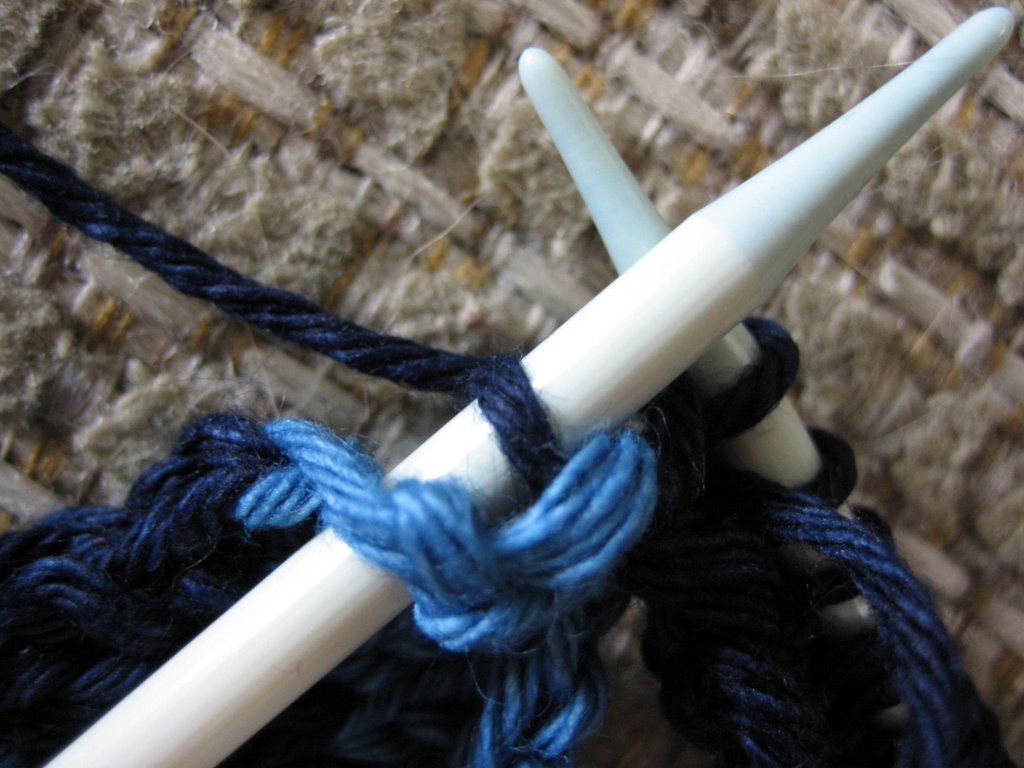
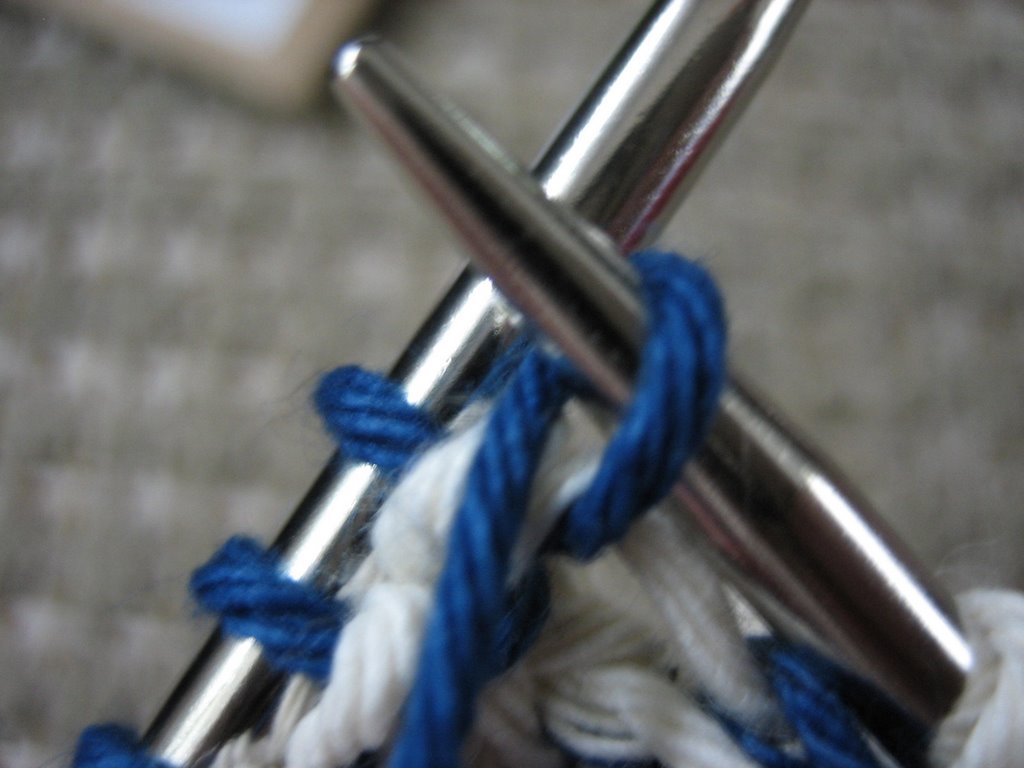
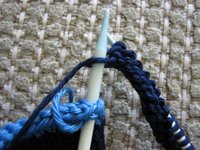
Slip the first stitch, tighten everything up, then purl . . .
 BUT. Don't purl that last stitch. You're going to use it to join up your new square with square 1. But you need that needle free, so for now, slip that last stitch onto the other needle with the rest of them.
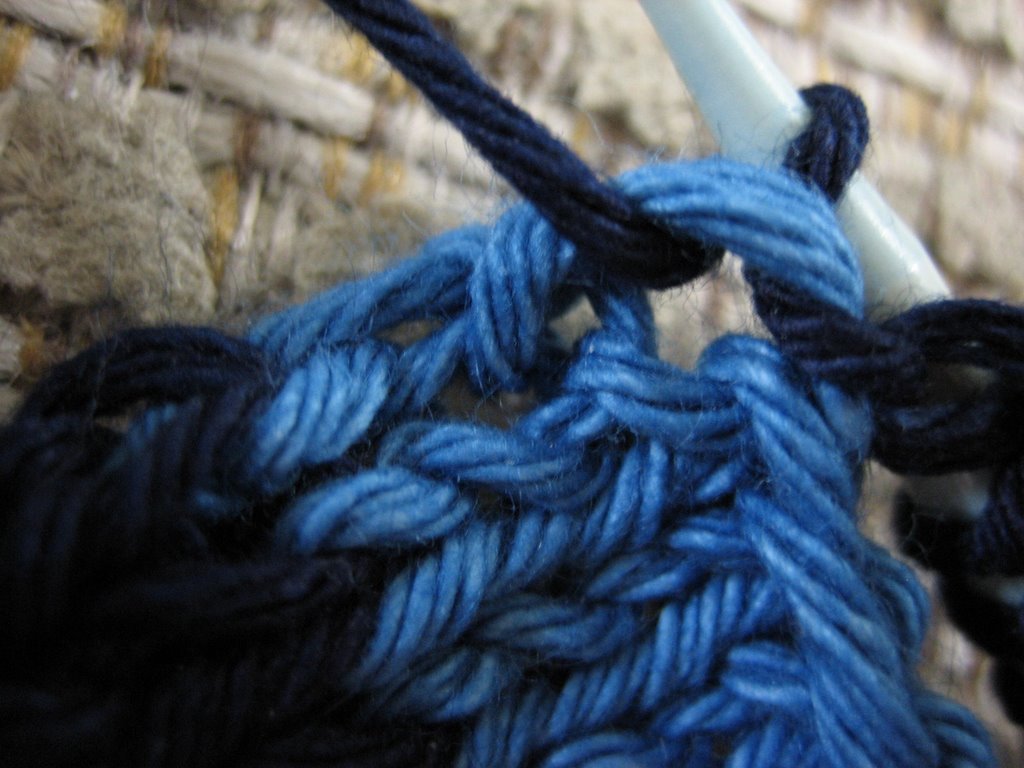
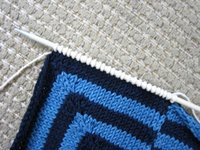
Take your free needle, and insert it into the edge of your first square. Unlike with your other joins, though, you don't want that first edge stitch. You want the next one up. (Not two horizontal bars up, either. Just the one.) If you choose the right edge stitch, your stripes will line up right and your cast-on edges will be relatively flush.
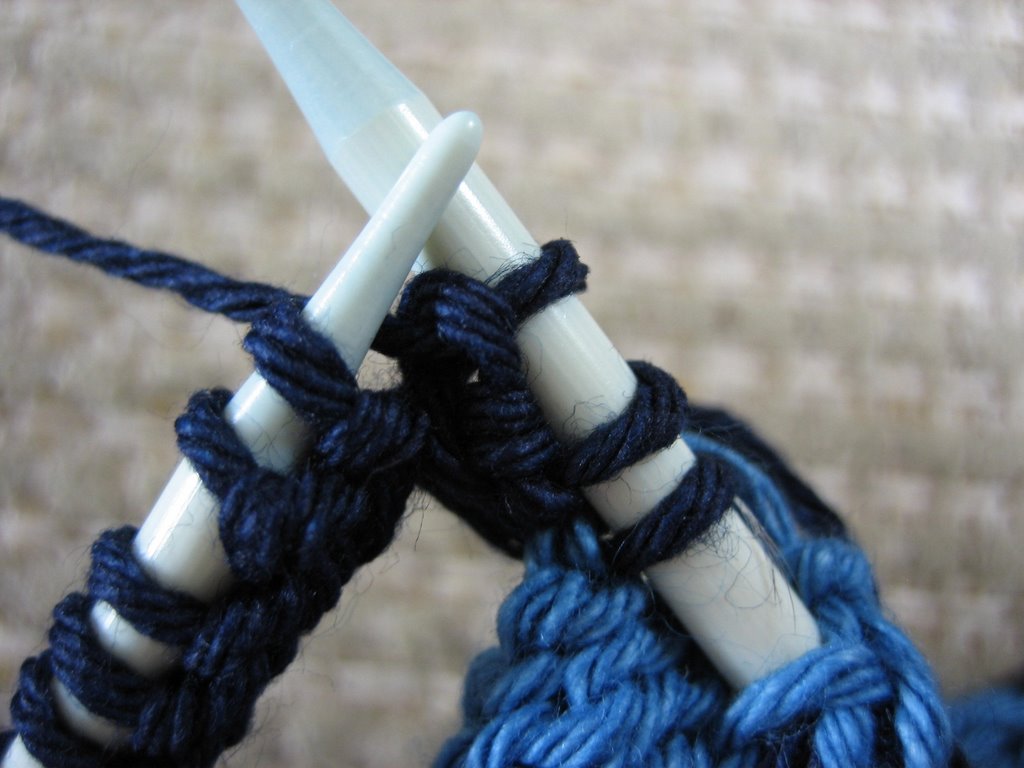
 Being careful not to twist, either slip that last stitch you didn't purl back onto the other needle and do an SSK with the edge stitch. Or you can do a Sl, k, PSSO, if you prefer.
(I'm not bothering with photos of this and the following steps, because it really is exactly what you're already familiar with on the other side of the square, just reversed a bit.)
Insert free needle back into square one, two rows up.
Turn.
Slip first stitch, this time with the yarn in front. Tighten things up a little . . .
And that's it.
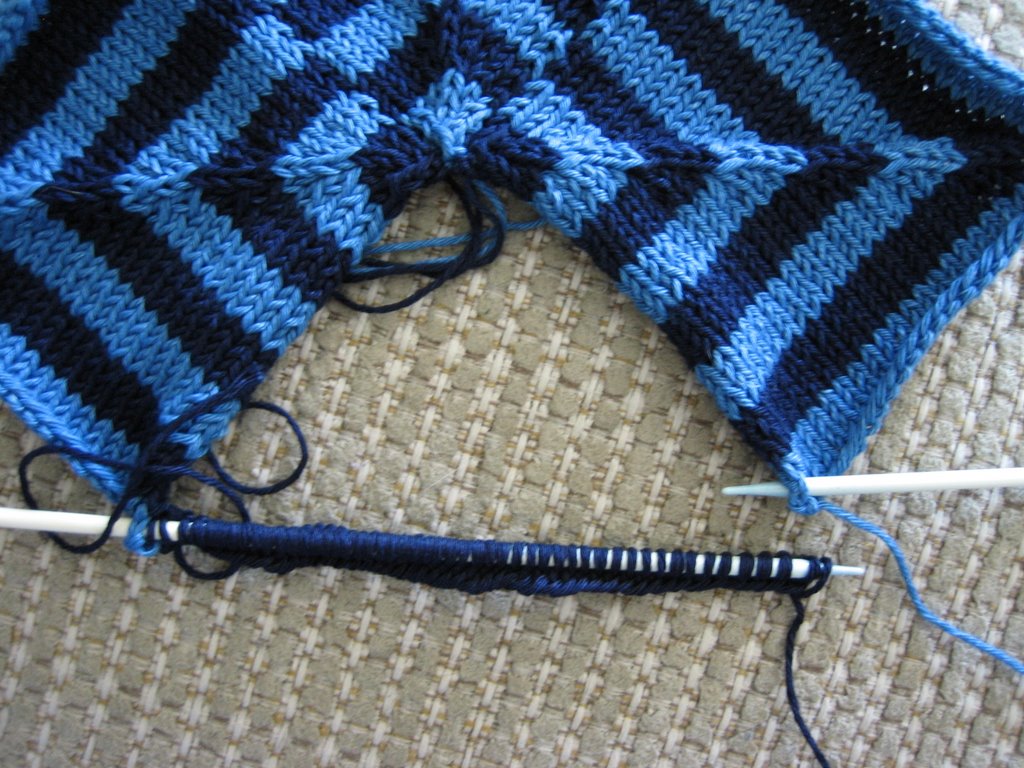
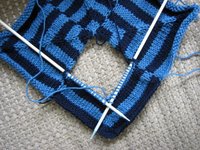 Continue knitting on the right side, purling on the wrong side, joining each side to the other squares, and decreasing for your miters.
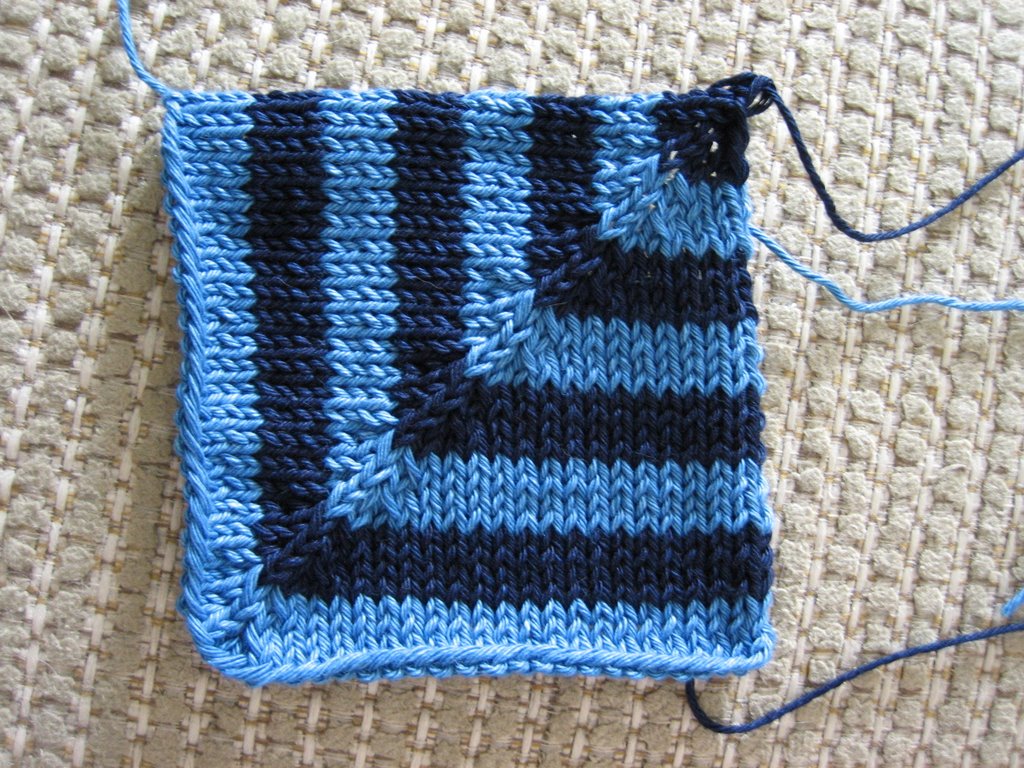
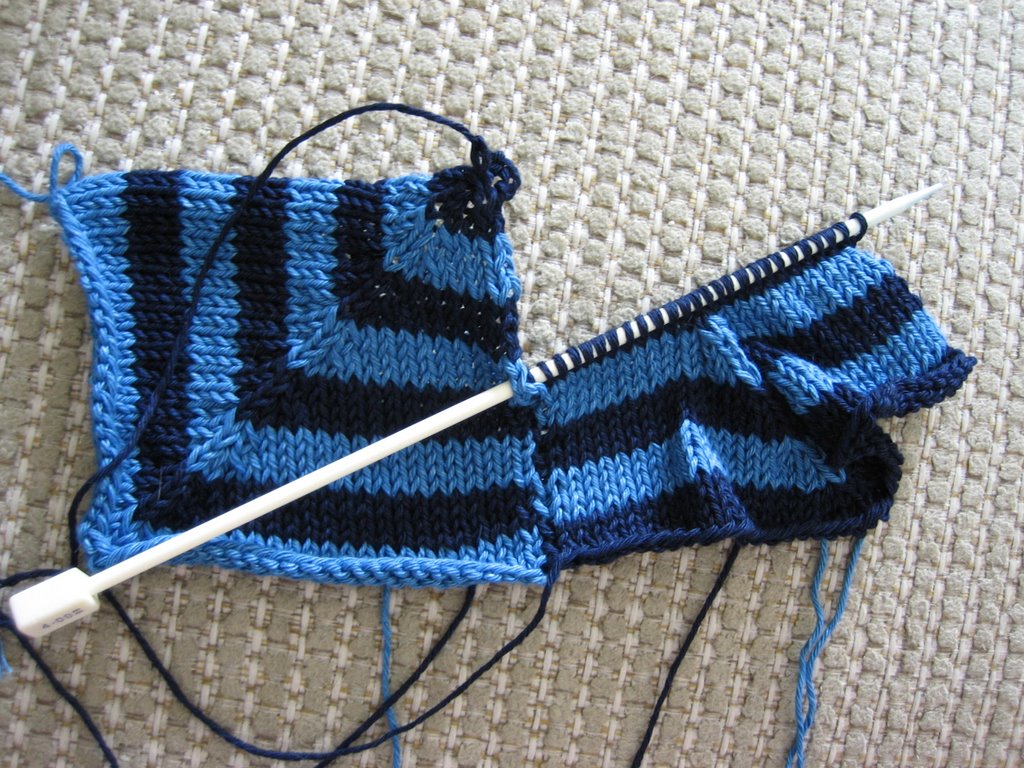
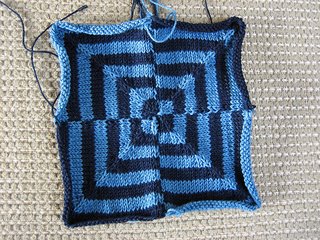 And you'll have yourself a pretty decent no-sew mitered block.
(Yes, it gets easier once you get the hang of it.)
Back to Square 1:
From here, you can keep it portable and flexible by making up more individual blocks. (Which you could then not-sew-together using crochet or a 3-needle bind-off.)
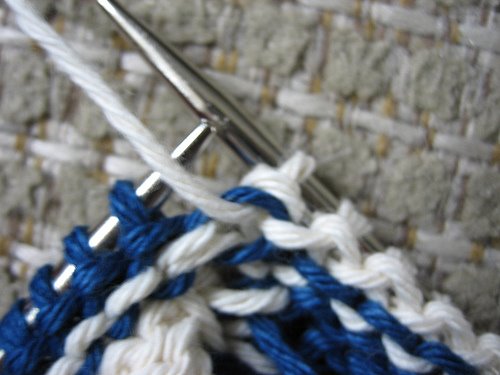
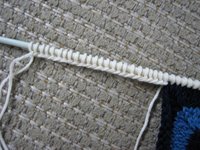
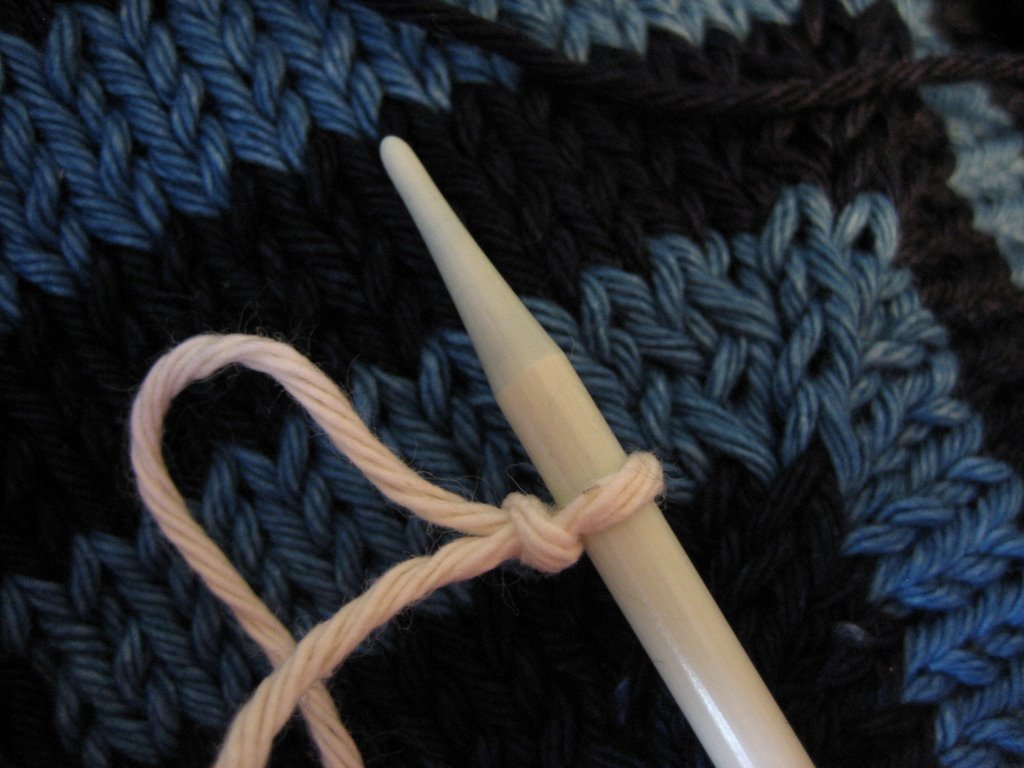
Or, you can start your next square by picking up stitches from the edge of your first block.
 I find it difficult to pick up a stitch from that edge stitch (the one that's now part of the seam). So instead of bothering with that, I use a slip knot for my first stitch.
 Then, pick up and knit 24 or 25 stitches, as it seems right to you. (The problem here is that since the square has an even number of cast-on stitches, there isn't really a sharp corner stitch you can pick up in. At least, you can't do that and keep your picked up stitches right in line with the stitches in your first block. If you were really clever, you would have considered adding an extra row of decreases into your mitered square, way back at the beginning. This would require three additional stitches to be cast on, and you would have an odd number of stitches, and therefore a perfect corner stitch. But most of us don't think about that sort of thing until it is too late . . . )
 Then cast on an additional 25 or 24 stitches, depending on how many stitches you picked up. (You want a total of 50, to match your previous squares.) If you use the long-tail cast on, like I do, you may need to grab a second length of yarn to serve as a surrogate "tail."
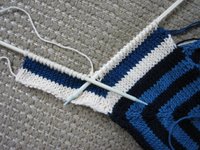 Miter away.
Yes, but how does it turn out, really?
Quite nicely, actually.
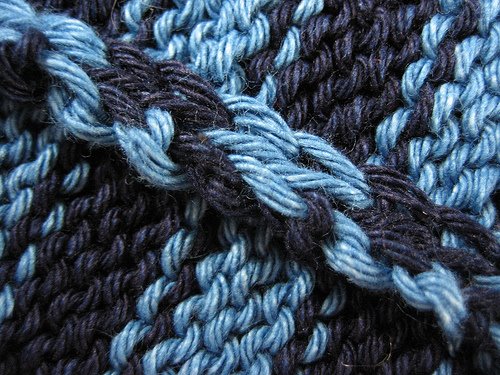
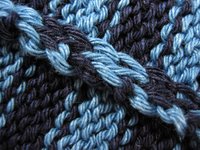 The wrong side "seams" aren't as neat as intarsia, but they're just as neat as mattress stitch (and slightly less bulky).
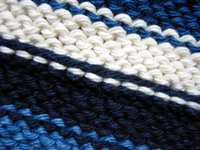 The line of picked-up stitches is barely noticed on the wrong side. (Blends right into all those color transitions from the striping.)
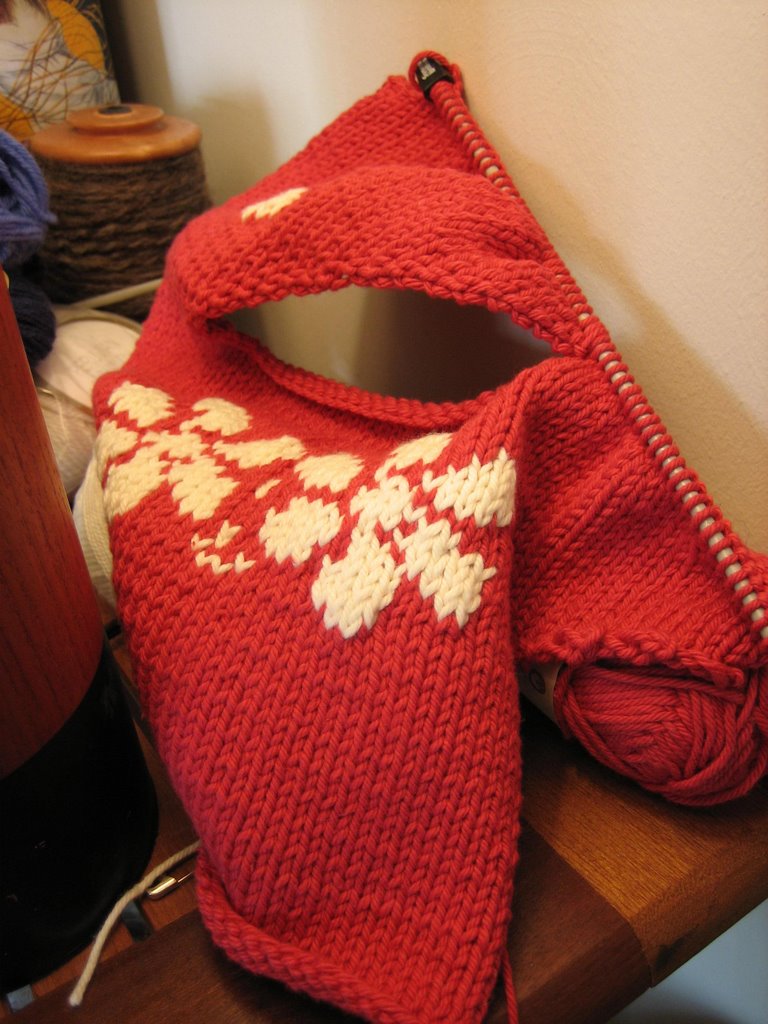
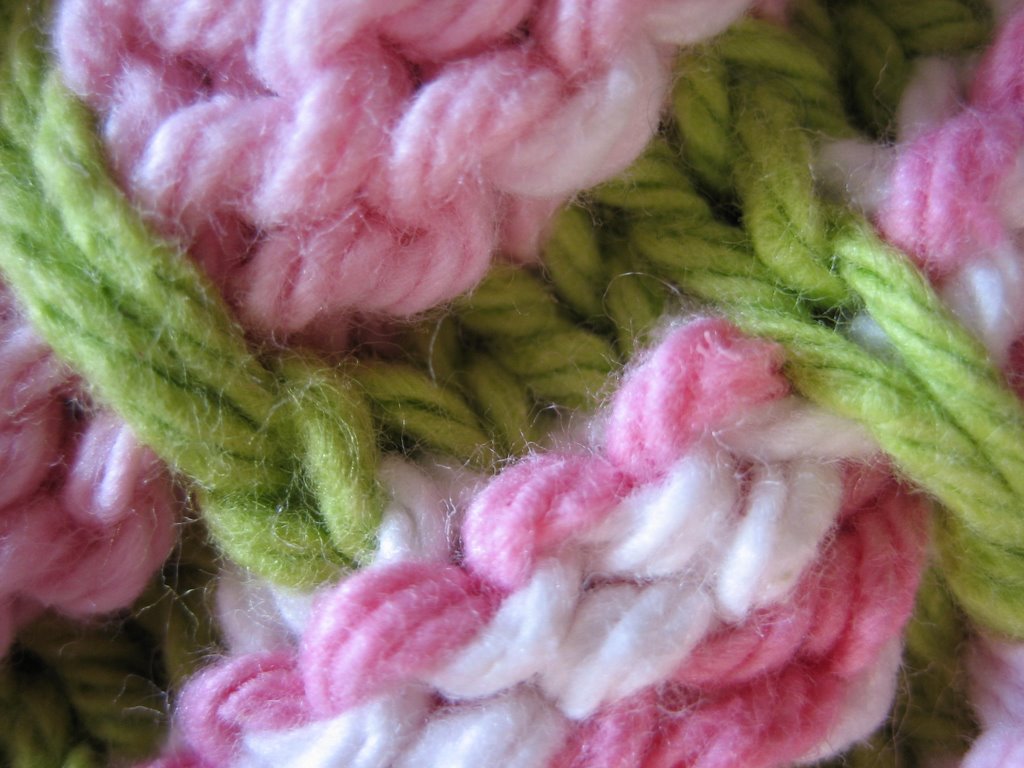
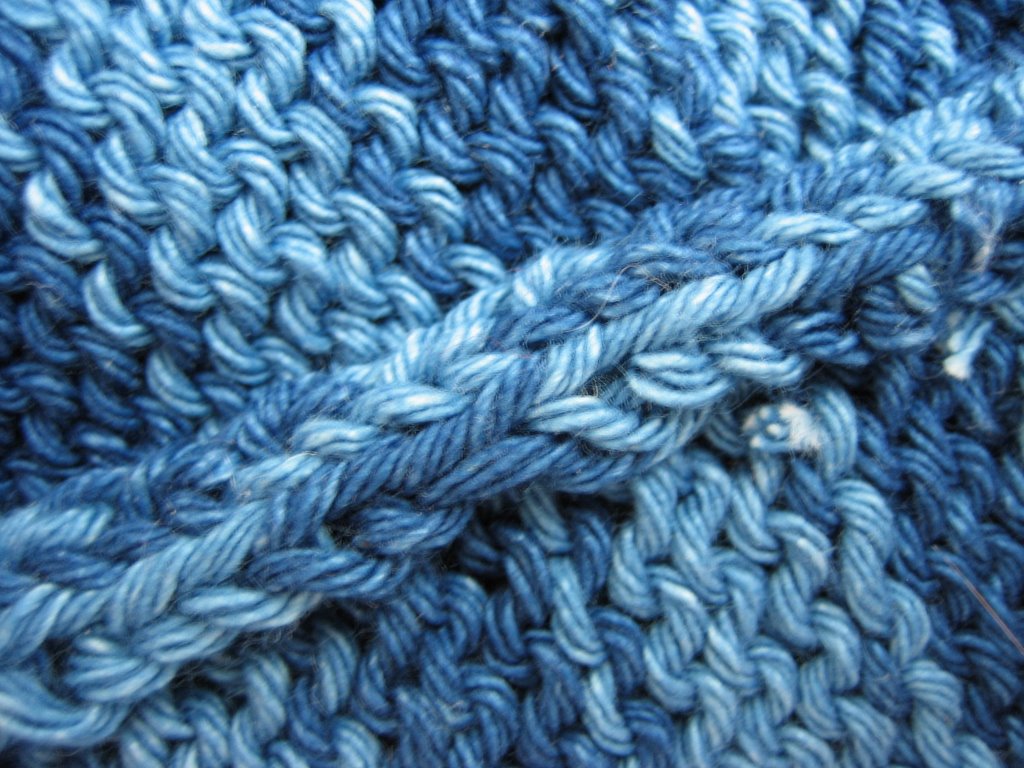
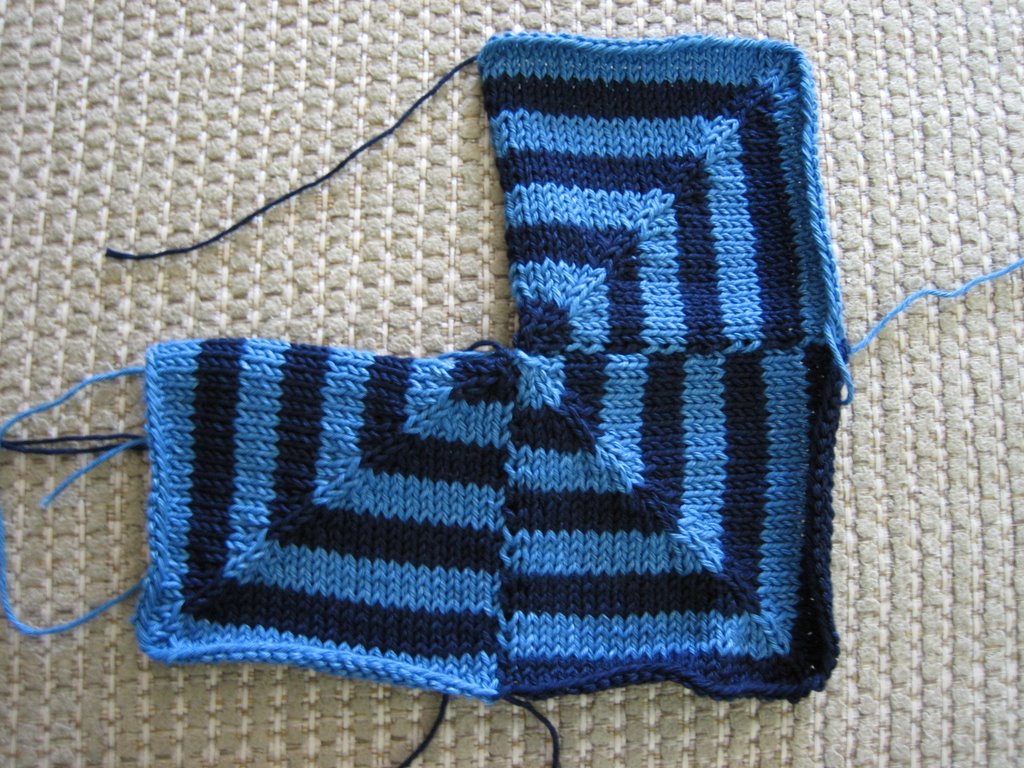
And the front is great!
 Your center may be a bit loose, but you can tighten that up when you weave in your congregation of ends.
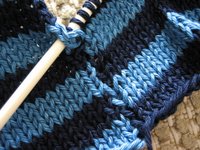
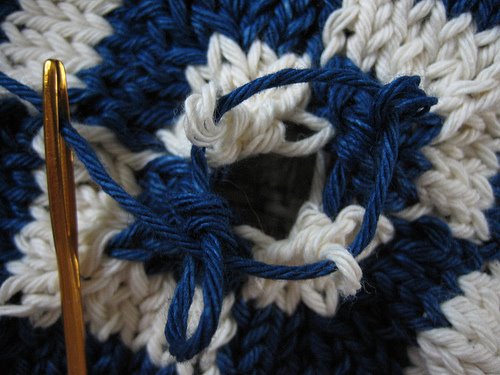
 And here's where the second block joins the first. I like it.
It's enough to make you really and truly happy.
For a full minute at least.
Happy knitting!
Square 3:
As square 2.
Square 4:
At this point, you have a choice.
You could knit square 4 as you did squares 2 and 3, and have a single seam to sew.
Or you can follow the directions below and go for the true no-sew block of squares. This last square is a little more difficult, though. In the last several rows, things get a bit tight. Whether the bother is worth it to you all comes down to how much you dislike the sewing.
On the assumption you wish to continue:
Everything begins in the same way your previous joined squares did:
Cast on 49 stitches.
Join with square 3 by purling into the first edge stitch on square 3. Re-insert needle into square 3, as previously described. Turn.
Slip the first stitch, tighten everything up, then purl . . .
 BUT. Don't purl that last stitch. You're going to use it to join up your new square with square 1. But you need that needle free, so for now, slip that last stitch onto the other needle with the rest of them.
Take your free needle, and insert it into the edge of your first square. Unlike with your other joins, though, you don't want that first edge stitch. You want the next one up. (Not two horizontal bars up, either. Just the one.) If you choose the right edge stitch, your stripes will line up right and your cast-on edges will be relatively flush.
Being careful not to twist, either slip that last stitch you didn't purl back onto the other needle and do an SSK with the edge stitch. Or you can do a Sl, k, PSSO, if you prefer.(I'm not bothering with photos of this and the following steps, because it really is exactly what you're already familiar with on the other side of the square, just reversed a bit.)
Insert free needle back into square one, two rows up.
Turn.
Slip first stitch, this time with the yarn in front. Tighten things up a little . . .
And that's it.
 Continue knitting on the right side, purling on the wrong side, joining each side to the other squares, and decreasing for your miters.
 And you'll have yourself a pretty decent no-sew mitered block.
(Yes, it gets easier once you get the hang of it.)
Back to Square 1:
From here, you can keep it portable and flexible by making up more individual blocks. (Which you could then not-sew-together using crochet or a 3-needle bind-off.)
Or, you can start your next square by picking up stitches from the edge of your first block.
 I find it difficult to pick up a stitch from that edge stitch (the one that's now part of the seam). So instead of bothering with that, I use a slip knot for my first stitch.
 Then, pick up and knit 24 or 25 stitches, as it seems right to you. (The problem here is that since the square has an even number of cast-on stitches, there isn't really a sharp corner stitch you can pick up in. At least, you can't do that and keep your picked up stitches right in line with the stitches in your first block. If you were really clever, you would have considered adding an extra row of decreases into your mitered square, way back at the beginning. This would require three additional stitches to be cast on, and you would have an odd number of stitches, and therefore a perfect corner stitch. But most of us don't think about that sort of thing until it is too late . . . )
 Then cast on an additional 25 or 24 stitches, depending on how many stitches you picked up. (You want a total of 50, to match your previous squares.) If you use the long-tail cast on, like I do, you may need to grab a second length of yarn to serve as a surrogate "tail."
 Miter away.
Yes, but how does it turn out, really?
Quite nicely, actually.
 The wrong side "seams" aren't as neat as intarsia, but they're just as neat as mattress stitch (and slightly less bulky).The line of picked-up stitches is barely noticed on the wrong side. (Blends right into all those color transitions from the striping.)
And the front is great!
 Your center may be a bit loose, but you can tighten that up when you weave in your congregation of ends.
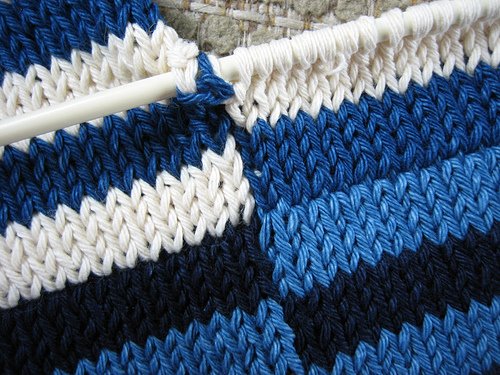 And here's where the second block joins the first. I like it.
It's enough to make you really and truly happy.
For a full minute at least.
Happy knitting!
Labels: Tips / Tutorials / Experiments
posted by Anonyknits at Sunday, July 30, 2006
5 comments
![]()